StratoLab
Lesson 5: Storing the data
Working with SD card using the Arduino language
Pre-requisites:
- It is recommended that you have successfully completed the blinky lights lesson
Objectives:
- Breadboard a circuit
- Read and write from the SD card that is wired up to the Arduino
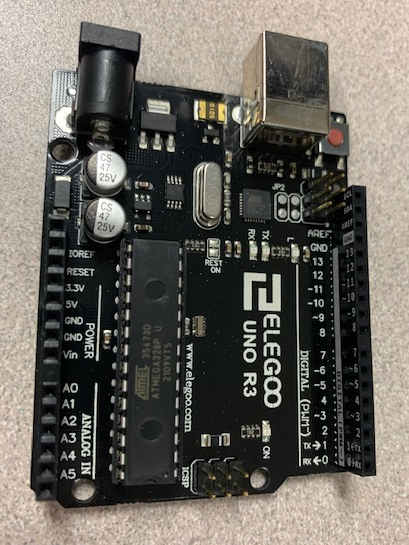
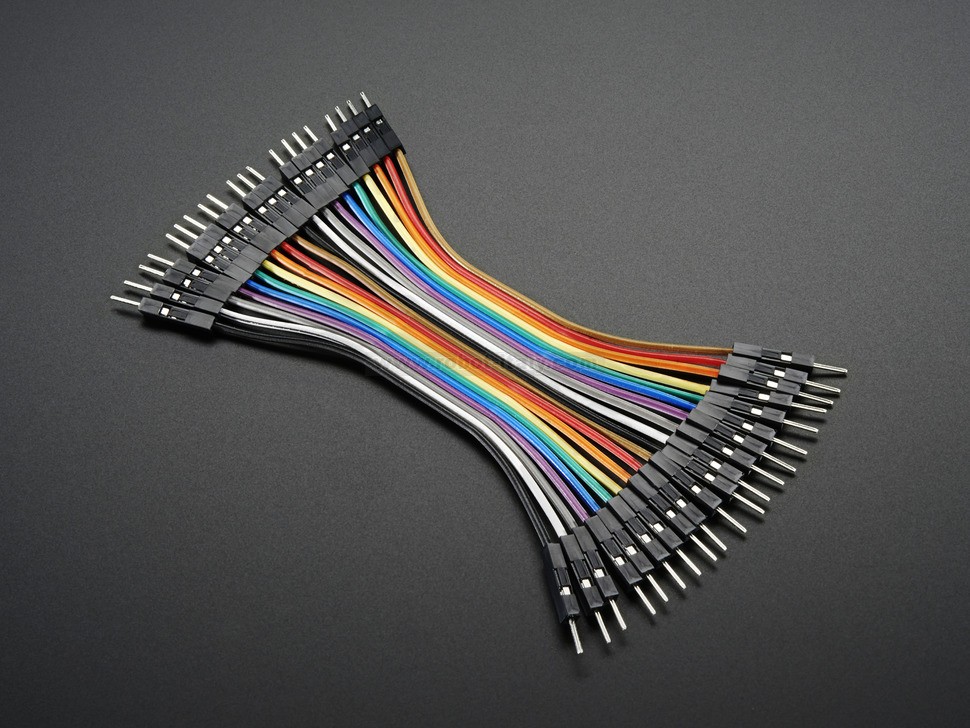
What you will be using:
What you will be learning:
- How to connect the SD card to the Arduino using a breadboard
- How to create a new Arduino Sketch project using the SDI Library
- Write the code in the Arduino IDE and upload it to the Arduino
- Create a file on the SD card
- Write some data to the SD card
- Watch your code run on the Arduino using Arduino IDE’s serial monitor
Video Walk-through
In addition to the reading below, you can watch this video for guidance!
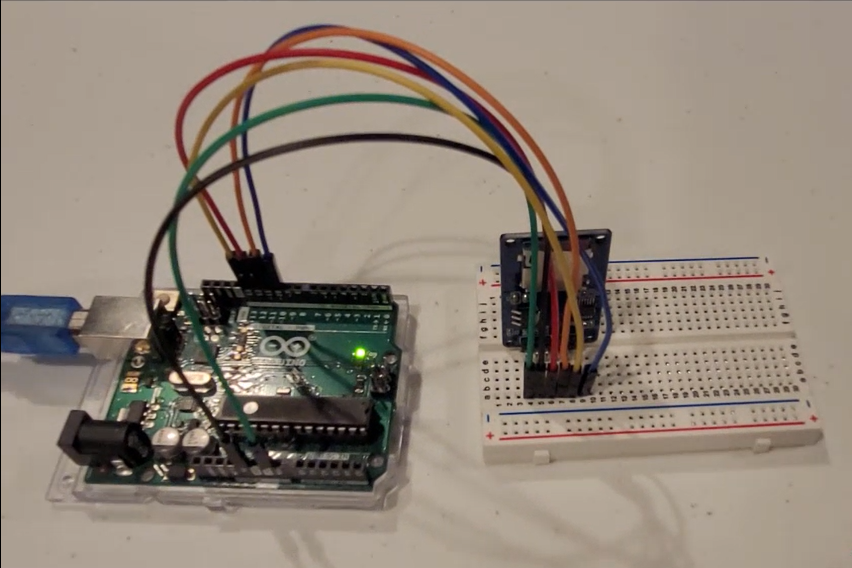
Wiring
- Unplug the Arduino from the computer before doing this
Pinout chart
Pin on SD card reader | Pin on Arduino
—— | ——
GND | GND
VCC | 5V
MISO | 12
MOSI | 11
SCK | 13
CS | 10
<img src=assets/images/SDCardSIDE.jpg width=”350” >
<img src=assets/images/ArduinoSdcard1.jpg width=”350” >
<img src=assets/images/ArduinoSDcard2.jpg width=”350” >
- Remember you do not have to use the same color of jumper wire as this, but insure that your connections are the same.
You are welcome to use the bread board as well to wire everything up.
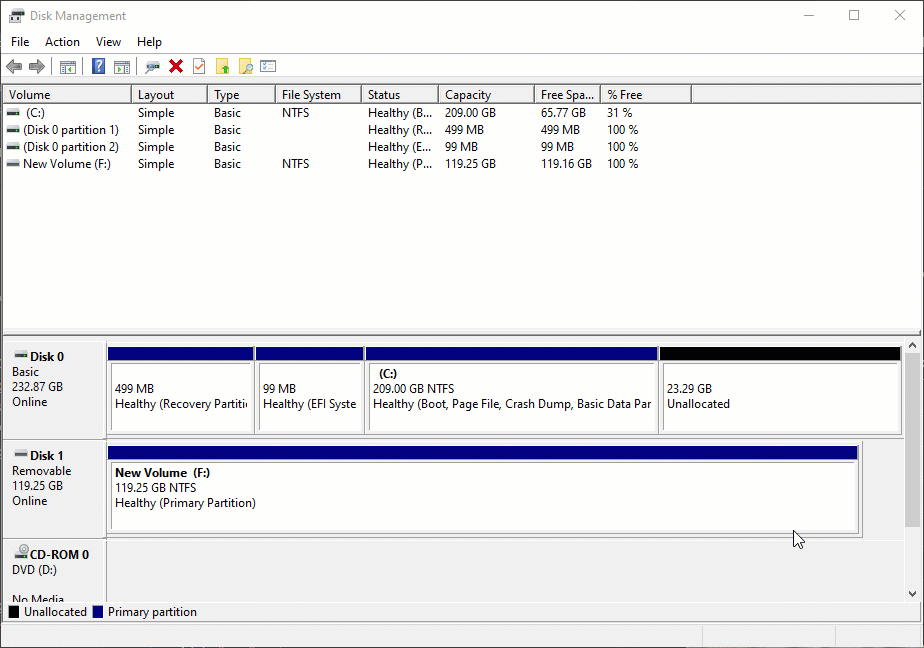
Formatting the SD Card
The SD card module works with a maximum of 32GB. This means you can either use a 32GB card or partition a larger card with a smaller drive. You can use the disk management application availble on Windows OS to do this function.
NOTICE: Use caution with this tool as it can alter your boot drive as well.
Working code to test SD card
#include <SPI.h>
#include <SD.h>

File myFile;

void setup() {
  // Open serial communications and wait for port to open:
  Serial.begin(9600);

  while (!Serial) {
    ; // wait for serial port to connect. Needed for native USB port only
  }

  Serial.print("Initializing SD card...");
  if (!SD.begin(10)) {
    Serial.println("initialization failed!");
    while (1);
  }
  Serial.println("initialization done.");

  // open the file. note that only one file can be open at a time,
  // so you have to close this one before opening another.
  myFile = SD.open("test.txt", FILE_WRITE);
  // if the file opened okay, write to it:
  if (myFile) {
    Serial.print("Writing to test.txt...");
    myFile.println("This is a test file :)");
    myFile.println("testing 1, 2, 3.");

    for (int i = 0; i < 20; i++) {
      myFile.println(i);
    }

    // close the file:
    myFile.close();
    Serial.println("done.");
  } else {
    // if the file didn't open, print an error:
    Serial.println("error opening test.txt");
  }
}
void loop() {
  // nothing happens after setup
}
Review
- Learned how to connect the SD card to the Arduino using a breadboard
- How to create a new Arduino Sketch project using the SDI Library
- Create a file on the SD card
- Write some data to the SD card
Want more?
If you have finished with the base lesson, check out the items below.
Things to think about, validate, and/or try:
- How big is the file?
- Is CSV the best output format?
- How long before we run out of space on the SD card? 🤔
Update the code to do any/all of the following:
- Write your own custom output to the file and change the filename
- Use a loop to write the even numbers from 0 to 100 into the file 😵
Troubleshooting
- If using a SD card larger that 32gb partitioning down to 32gb or less and formatting to fat32 may be required
- If the SD card is not registering check all your connections first, if this doesn’t work insure that the card is empty and formatted to fat 32
Need help?
Watch the walk-through video for guidance!