StratoLab
Lesson 3: Weather Sensor
Working with weather sensor data using the Arduino language
Pre-requisites:
- It is recommended that you have successfully completed the blinky lights lesson
Objectives:
- Breadboard a circuit
- Read weather sensor data
- Print the weather sensor data to the serial port
What you will be using:
- Arduino IDE
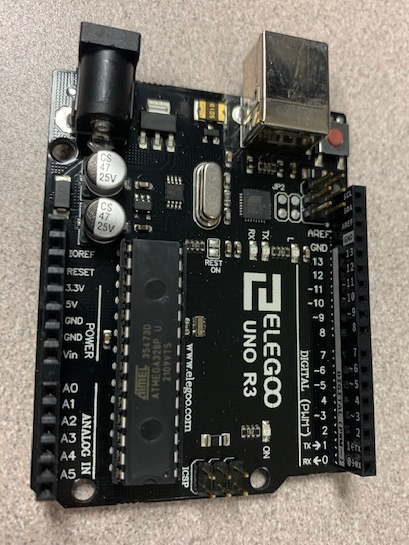
- Arduino Uno
- BMP180 Sensor

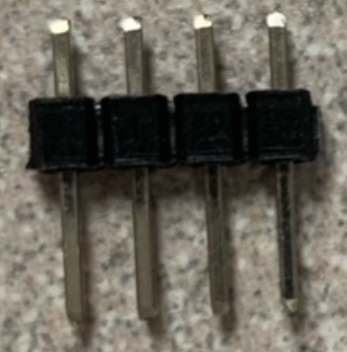
- 5 pin connector
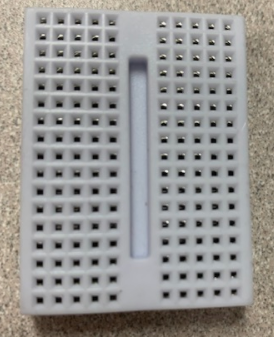
- Breadboard
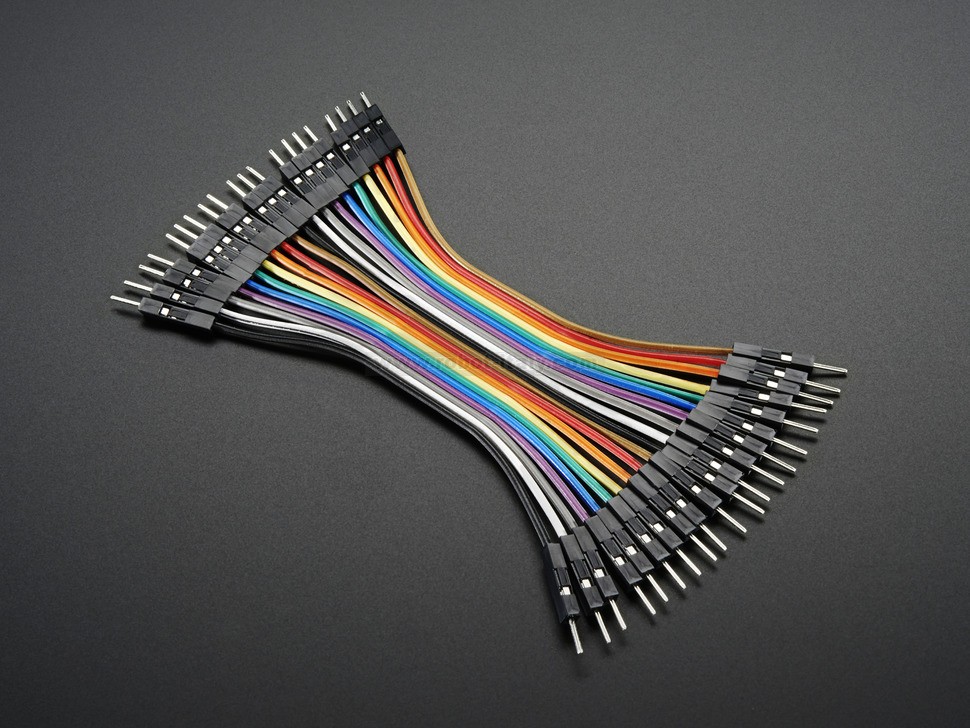
- Jumper Wires
What you will be learning:
- How to connect the BMP180 to the Arduino using a breadboard
- How to create a new Arduino Sketch project using the Adafruit BMP085 Library
- Write the code in the Arduino IDE and upload it to the Arduino
- Measure the temperature in Celsius from the BMP180 and convert to Fahrenheit
- Read the pressure in pascals and convert to inches of mercury
- Print your calculations to the Arduino’s serial port
- Watch your code run on the Arduino using Arduino IDE’s serial monitor
Video Walk-through
In addition to the reading below, you can watch this video for guidance!
Connecting Up the BMP180 Pressure and Temperature Sensor
NOTE: Unplug the Arduino from the computer before doing this

<img src=assets/images/BMPWIRE2.jpg width=”350” >
You are welcome to use the bread board as well to wire everything up.
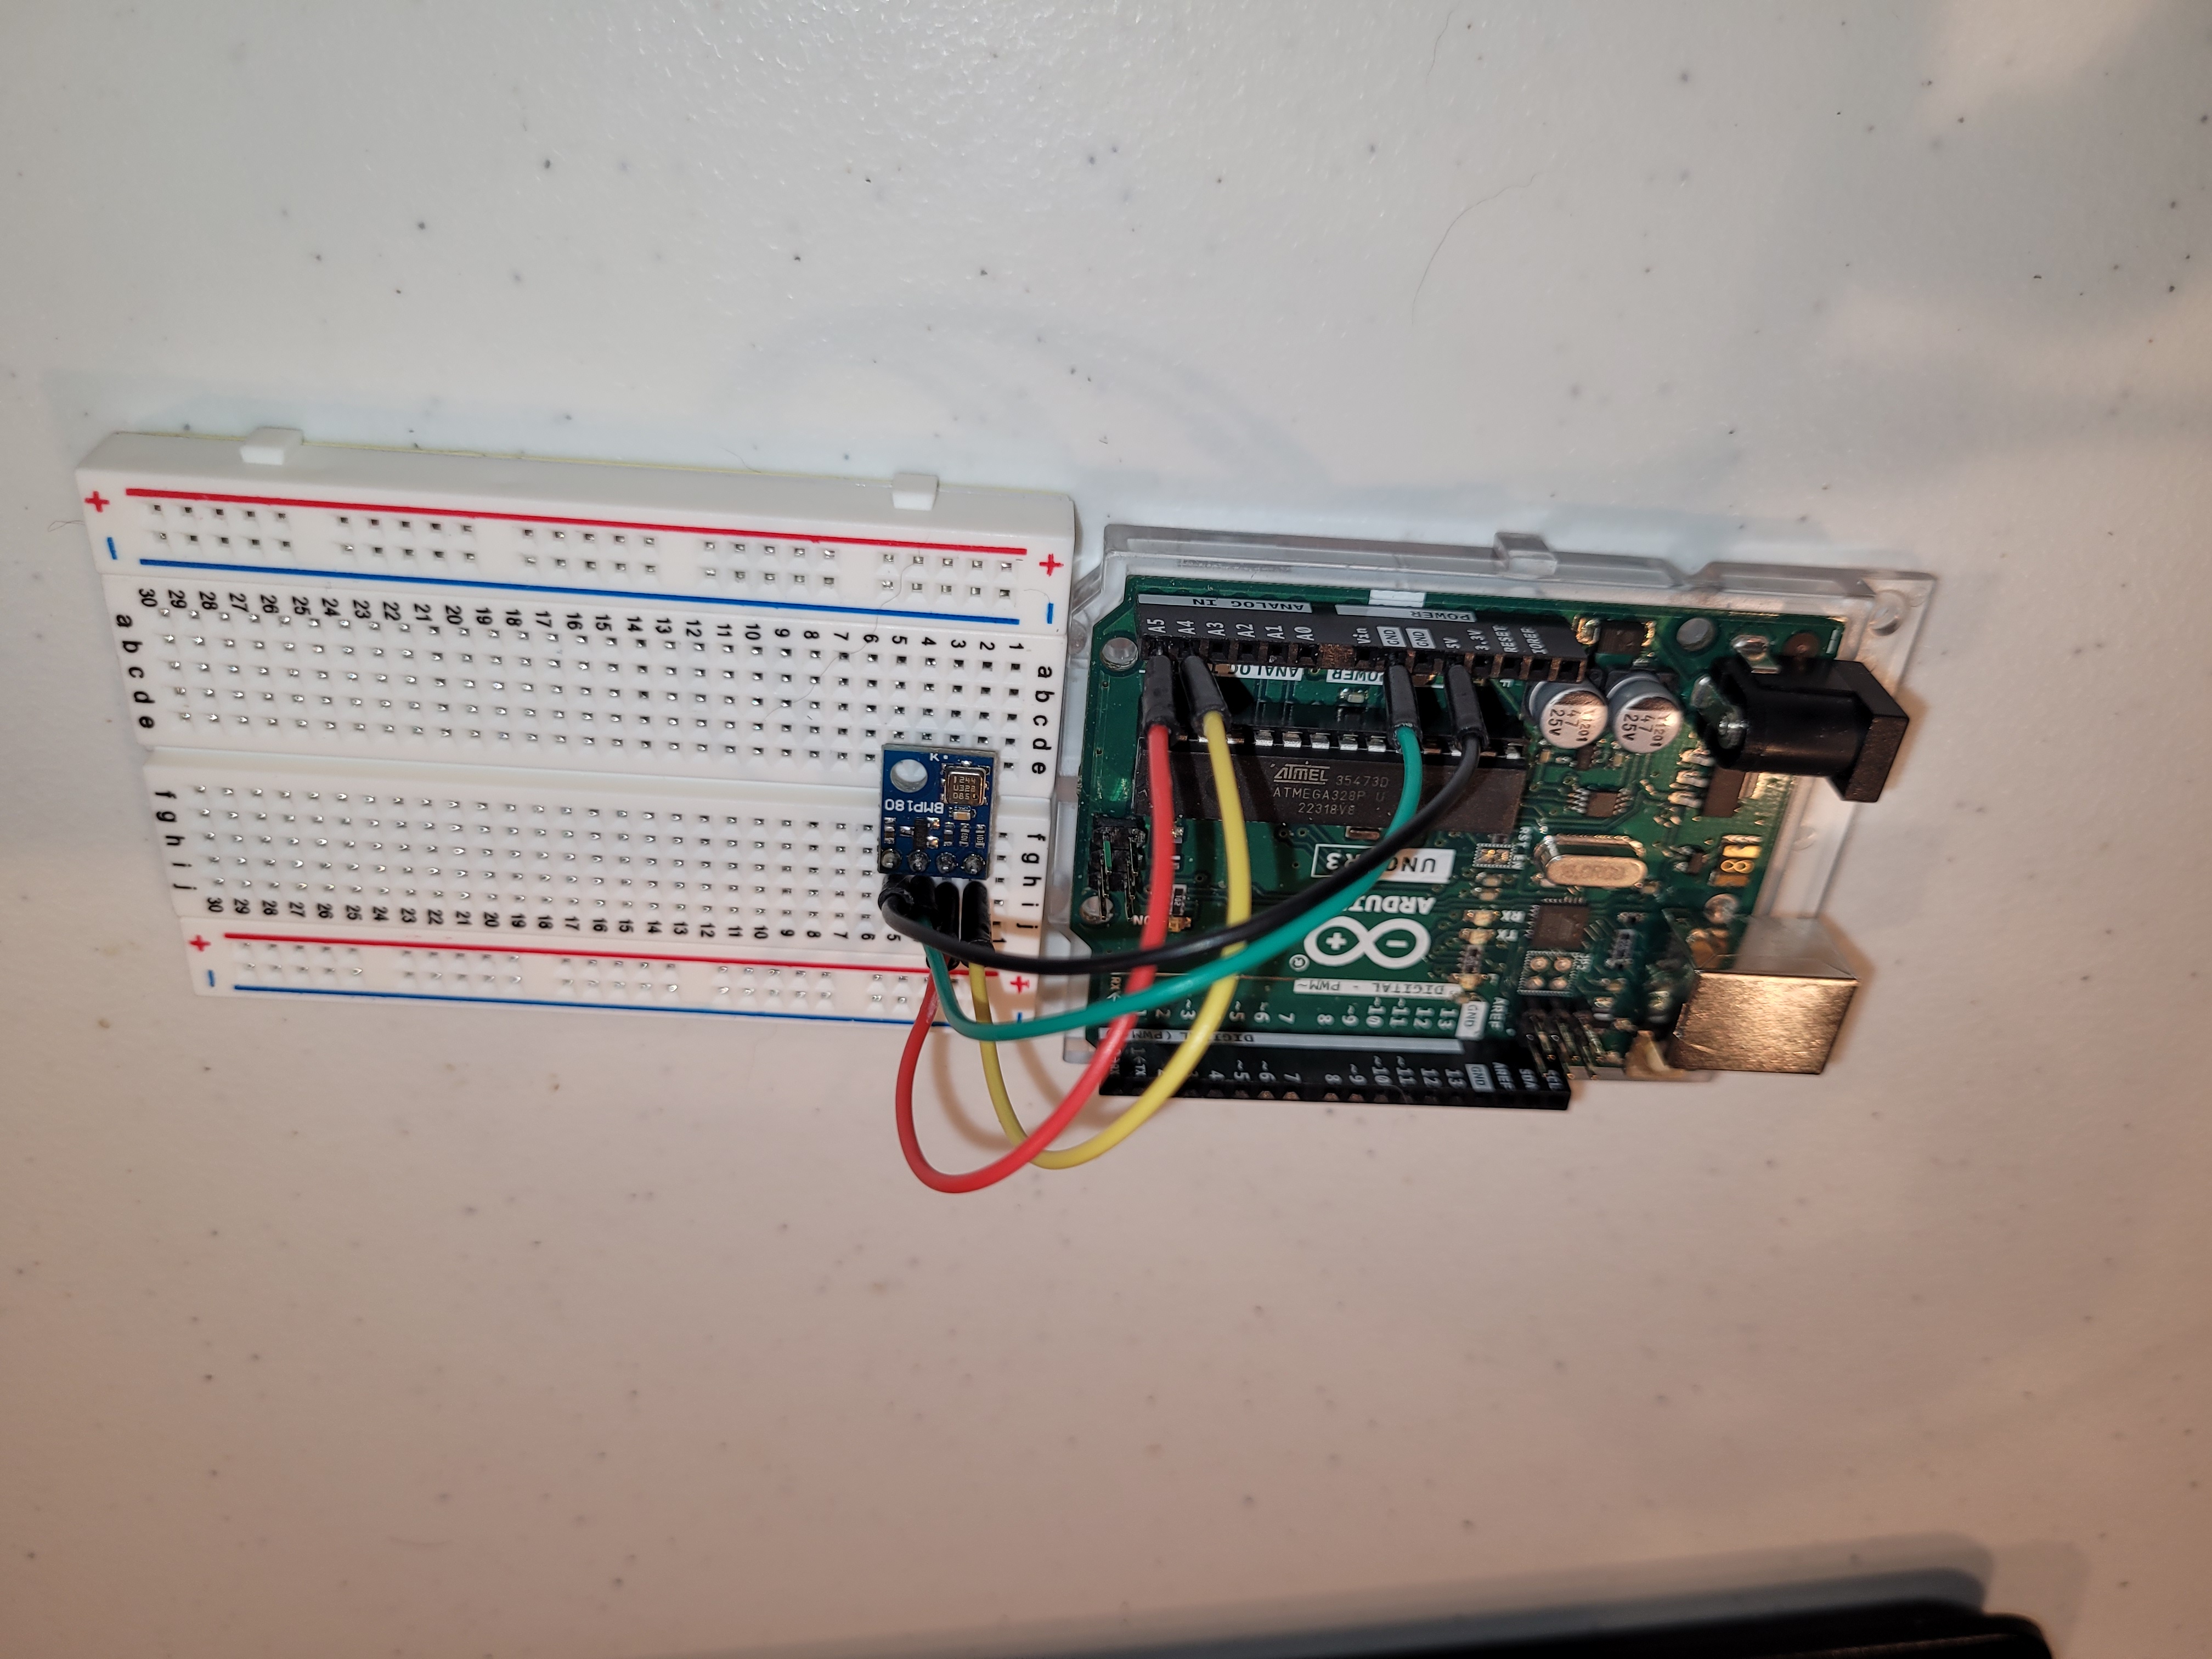
Pinout chart
| BMP180 Pin | Arduino Pin |
|---|---|
| Vin | 5V |
| GND | GND |
| SCL | A5 |
| SDA | A4 |
Tips
- The color of the wires do not matter as long as they are connected to the right pins
- Make sure that you have the libraries installed
- Install the Adafruit BMP085 library through the Arduino IDE by going to Sketch -> Include Library -> Manage Libraries -> then search for “Adafruit bmp085 library”
- Install the BusIO library through the Arduino IDE by going to Sketch -> Include Library -> Manage Libraries -> then search for “BusIO”
- In order to see the serial monitor, where your data will be printing out, press ctrl + shift + m or enter the tools menu and select the serial monitor
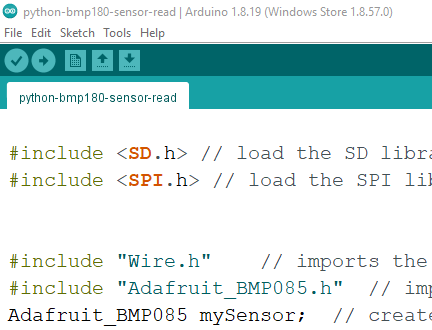
Working Code
//#include <SD.h> // load the SD library
//#include <SPI.h> // load the SPI library

#include "Wire.h"    // imports the wire library for talking over I2C
#include "Adafruit_BMP085.h"  // import the Pressure Sensor Library
Adafruit_BMP085 mySensor;  // create sensor object called mySensor

float tempC;  // Variable for holding temp in C
float tempF;  // Variable for holding temp in F
float pressure; //Variable for holding pressure reading

void setup(){
  Serial.begin(9600); //turn on serial monitor
  mySensor.begin();   //initialize mySensor
}

void loop() {
  tempC = mySensor.readTemperature(); //  Read Temperature
  tempF = tempC*1.8 + 32.; // Convert degrees C to F
  pressure=mySensor.readPressure(); //Read Pressure

  Serial.print("The Temp is: "); //Print Your results
  Serial.print(tempF);
  Serial.println(" degrees in F (fahrenheit)");
  Serial.print("The Pressure is: ");
  Serial.print(pressure/3386.389);
  Serial.println(" in of HG (inches of mercury).");
  Serial.println("");
  delay(250); //Pause between readings
}
Review
- Learned how to connect the BMP180 to the Arduino using a breadboard in order to gather data such as pressure
- Learned How to create a new Arduino Sketch project using the Adafruit BMP085 Library
- Measure the temperature in Celsius from the BMP180 and convert to Fahrenheit
- Read the pressure in pascals and convert to inches of mercury
- Print your calculations to the Arduino’s serial port
Want more?
If you have finished with the base lesson, check out the items below.
Update the code to do any/all of the following:
- Convert the pressure to atmospheres
- Create a function for unit conversions to pass variables and print output.
Things to think about, validate, and/or try:
- How can you change the temperature surrounding the BMP180? (Don’t touch it 😅)
- What should the pressure reading be?
- List the raw values measured by the sensor? What are their units?
Altitude?
The BMP_180 also measures Altitude! Add the appropriate code to capture the altitude and record the altitude in the Serial Monitor. Output the altitude after the other two measurements. Look up to see what that number means. Label the output appropriately. Just as the temperature was changed to a more common measure in the United States, change the Altitude to a more common measure in the United States. Label the output appropriately.
- Is there an altitude available from the sensor?
- Can you print the reading?
- What can/should you convert it to?
- Is the altitude correct?
- How sensitive is the reading?
Challenge
If you have finished with the extension lesson questions, check out the challenge below.
Use three LEDs to show a temperature or pressure change from low, to medium, to high. Wire up the three LEDs like you did in lesson two. You can combine the code from this lesson with some of the code from lesson two to get you started.
Things to think about:
- Set a threshold for each level.
- Evaluate the sensor reading on an interval? how fast can you go?
- Don’t forget to turn off the previous light when you cross a threshold.
- Which is easier to evaluate, temperature or pressure?
Try to write the code on your own. If you get stuck or need some inspiration expand this section.
```java //#includeError opening serial port 'COM3'. (Port not found)
while attempting to open your serial monitor, insure that your Arduino is still plugged in and everything is wired correctly
- Make sure to open the serial monitor to see the output:*(Ctrl + Shift + M)* - If that doesn't work, you can install the BMP library [found here](https://learn.adafruit.com/bmp085/using-the-bmp085) - Addjust the time to lower waits if you are having trouble reading the data:
delay(250); //Pause between readings.
### Need help? Watch the walk-through [video](assets/videos/Lesson3.mp4?raw=true) for guidance!